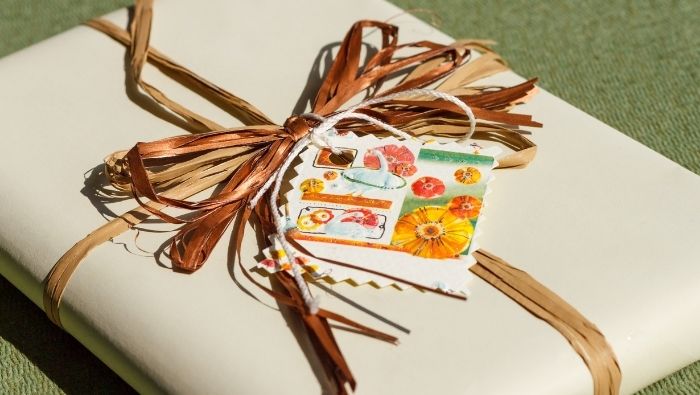
10 Ways To Make Cheap Wrapping Paper Look Beautiful
Make gifts stand out without spending a fortune on wrapping paper. Try a few of these creative ways to make cheap wrapping paper look “present-able.”

Remember when you were a kid, how excited you were when you got to open a present? You probably ignored how beautiful the wrapping paper was or how perfectly the present was wrapped. Instead, you only cared about getting to what was inside. After about ten seconds of ripping and tearing, the wrapping paper was instantly tossed aside without a second thought.
As an adult, we tend to look at gift wrapping a little differently. We know how much wrapping paper costs, and we know how much time it takes to wrap a gift so it looks presentable. So what to do? How can you save money when wrapping gifts and still make them look beautiful?
You no longer have to spend a small fortune on beautiful wrapping paper that will be ripped apart and thrown away. All you need is some inexpensive wrapping paper and the ideas below to make your gifts look impressive, as they’ll all have quite a unique twist to them.
Ways to Make Cheap Wrapping Paper More “Present-able”
The following are 10 things you can do to make inexpensive wrapping paper look so stunning that everyone will want to be on your gift-giving list!
1. Create cut-outs.
Are you wrapping a gift in a solid color box? After wrapping the gift, you can use a simple stencil template that will allow you to make a few well-placed cutouts in the wrapping paper. When you wrap the gift, the box color will show through the cutout areas.
2. Circle it.
Before wrapping, use glass jars of various sizes to draw circles all over any solid color wrapping paper. You can use colored markers or crayons to make many overlapping circles for a fun design.
Or you can use one color, like silver or gold, to give the gift a classy appeal.
Sign Up for Savings
Subscribe to get money-saving content by email that can help you stretch your dollars further.
Twice each week, you'll receive articles and tips that can help you free up and keep more of your hard-earned money, even on the tightest of budgets.
We respect your privacy. Unsubscribe at any time.
3. Go with polka dots.
Before wrapping, gather a few pencils and some stamp ink (or paint). Lightly dip the eraser end of the pencil into the ink to make polka-dot wrapping paper. Using one color will make the gift look expensive while using a variety of colors will make the gift look fun.
You can also use potatoes as stamps. This allows you a little more versatility, as you can carve out your own shapes in the potatoes.
4. Try a chalkboard effect.
After wrapping a gift using a solid color of very dark wrapping paper (black butcher paper works well), simply use a white paint pen to decorate for a chalkboard look, which is especially fun for kids and teachers.
5. Tie it up with yarn.
Multi-colored yarn can add a lot of fun to your gift. After wrapping, simply wrap the yarn around the gift using clear glue, covering the whole gift or a portion of it.
6. Go natural.
If the recipient loves the outdoors, after wrapping, simply add some outside décor to your gift with clear glue. Add flowers, twigs, pretty leaves, and pine cones.
7. DIY the bows.
Handmade bows are easy to make and add a whole new level of beauty to a gift.
You can make your own bows by cutting strips of colored paper (magazine pages work well, too) and shaping them into a bow, using a stapler to keep it all together.
8. Try your hand at drawing.
Whether you’re an artist or not, simply drawing on the paper adds a very personal touch. Such a personal addition makes the wrapping paper part of the gift.
9. Give cupcake liners a go.
After wrapping, use fancy cupcake liners to decorate. Simply flatten them out, using a little glue in the center to attach them to the wrapping paper. Contrasting colors work best when using this method of wrapping paper decoration.
Looking for a little extra pizzazz? Lightly spray the liners with adhesive and then sprinkle confetti or glitter over them.
10. Get out the glue.
After wrapping, glue homemade paper cutouts to the gift using a spray adhesive. Cutouts should be specific to the recipient, such as letters and numbers for a teacher.
Reviewed October 2024
Popular Articles
On After50Finances.com
- 9 Things You Need to Do Before You Retire
- You Didn’t Save Enough for Retirement and You’re 55+
- When Empty Nesters Reorganize and Declutter Their Home
- Reinventing Your Career in Your 50s or 60s
- What Mature Homeowners Should Know about Reverse Mortgages
- 2 Reasons to Collect Social Security Benefits As Soon As Possible

